목차
지난챕터 에는 별들의 좌표를 얻기위해 HYG database에서 필요한 정보만 추출했습니다.
이번 챕터에서는 브라우저에서 사용될 코드를 작성합니다.
단순한 플라네타리움의 구현이 목표이기 때문에, 프론트(HTML, CSS, JS) 코드는 최소한으로 간단하게만 구성합니다.
이번 챕터에서 프론트에서 구현해야 하는 로직은 다음과 같습니다.
json 파일 로드
json에 들어있는 좌표만큼 element(<star>라는 태그이름을 쓰겠습니다) 생성
좌표값을 이용하여 window에 element 배치
참고로, 별마다 HTML element를 생성한다면 성능에 큰 문제가 있을 가능성이 높습니다. 하지만 제대로 표현되는 것을 확인하는데에는 문제가 없으니 이대로 진행한 후 성능개선이 필요한 경우 해당 부분을 교체하면 됩니다.
스켈레톤 코드 플라네타리움 코드가 제대로 구현되고있나 확인하기 위해 프론트 환경을 간단하게 구성해줍시다. 아래 코드들은 다음챕터에서 계속 수정될 예정입니다. 최종적인 코드는 목차에 있는 소스코드에서 확인하시면 됩니다.
night.html HTML쪽은 js와 css를 가져오는 것으로 충분합니다.
1
2
3
4
5
6
7
8
9
10
11
12
13
14
15
16
17
18
19
20
21
22
23
24
25
26
27
28
29
<!DOCTYPE html > <html lang ="en" > <head > <meta charset ="UTF-8" > <meta name ="viewport" content ="width=device-width, initial-scale=1.0" > <link href ="style.css" rel ="stylesheet" type ="text/css" > </link > <script type ="text/javascript" async src ="stars.js" > </script > <script type ="text/javascript" async src ="coordinate.js" > </script > <script type ="text/javascript" async src ="projection.js" > </script > <script type ="text/javascript" async src ="debug.js" > </script > <title > BHNB</title > </head > <body > <div class ="contents" > Korea Univ. Amateur Astronomical Association </div > <projection id ="stars" > </projection > </body > </html >
정상적으로 구현되었다면 <projection> 안에 <star>들이 들어갈겁니다.
style.css css에서는 뒤 배경, 폰트, 별에 대한 명세를 설정합니다.
1
2
3
4
5
6
7
8
9
10
11
12
13
14
15
16
17
18
19
20
21
22
23
24
25
26
27
28
29
30
31
32
33
34
@import url(http ://cdn.jsdelivr.net/font-kopub/1.0 /kopubdotum.css);html { height : 100% ; overflow : hidden; background : rgb (2 ,0 ,36 ); background : linear-gradient (rgba (2 ,0 ,36 ,1 ) 0% , rgba (14 ,81 ,94 ,1 ) 100% ); background-repeat : no-repeat; background-attachment : fixed; } .contents { color : white; position : absolute; font-size : 15px ; font-family : 'KoPub Dotum' ; } star { background-color : white; border-color : white; border-radius : 50% ; position : absolute; }
사용하고자 하는 폰트를 @import url(http://cdn.jsdelivr.net/font-kopub/1.0/kopubdotum.css); 처럼 import하면 font-family: 'KoPub Dotum'; 처럼 폰트를 사용할 수 있습니다.
또한, linear-gradient 속성을 이용하면 background: linear-gradient(rgba(2,0,36,1) 0%, rgba(14,81,94,1) 100%);처럼 아래로 갈수록 밝아지는 배경을 만들 수 있습니다.
마지막으로 star는 border-radius: 50%;를 이용하여 모양을 원으로 만들고, position: absolute속성을 줘서 자유롭게 위치를 지정할 수 있게 해주면 됩니다.
Javascript 기능에 따라서 스크립트를 나눠서 관리해줍시다.
stars.js stars.js는 우리가 추출한 별 좌표 데이터를 받아와서 HTML element를 생성해주는 역할을 합니다.
1 2 3 4 5 6 7 8 9 10 11 12 13 14 15 16 17 18 19 20 21 22 23 24 25 26 27 28 29 30 31 32 33 34 35 36 const PATH = 'https://raw.githubusercontent.com/PngWnA/BHNB/master/resources/small.json' ;const init = async (path=PATH ) => { const response = await fetch (path); console .log ('[Core] Initialized.' ); return response.json (); }; const load = (stars ) => { stars.map ((star ) => { const elem = document .createElement ('star' ); elem.setAttribute ('ra' , star.ra ); elem.setAttribute ('dec' , star.dec ); document .getElementById ("stars" ).append (elem); }); console .log (`[Core] Loaded ${stars.length} stars.` ); return stars.length ; };
load(init())을 호출하면 우리가 추출했던 json파일의 내용을 HTML element로 올려줄 수 있습니다.
파일을 github에 올려놓고 해당 링크를 통하여 fetch하는 방식으로 가져오면 따로 컨텐츠 제공 서버를 세팅할 필요가 없어집니다.
coordinate.js json파일의 별 좌표계(적도좌표계)값을 우리가 접속한 지역에서 사용할 좌표(지평좌표계) 값으로 바꿔줘야 합니다.
다음 챕터에서 구현합시다.
projection.js HTML element의 좌표값을 이용하여 브라우저의 어느 위치에 해당 element가 위치해야 하는지를 계산해줘야 합니다.
1
2
3
4
5
6
7
8
9
10
11
12
13
14
15
const project = (}; const projectTest = async ( const stars = document .getElementsByTagName ("star" ); console .log ("[*] Projecting..." ) const { innerWidth, innerHeight } = window ; for (let index = 0 ; index < stars.length ; index++) { stars[index].style .left = `${innerWidth * Math .random()} px` ; stars[index].style .top = `${innerHeight * Math .random()} px` ; stars[index].style .height = stars[index].style .width = `${Math .random() * 3 } px` ; } return ; };
project 메서드에서 실제로 지평좌표계를 받아 표시될 위치를 계산할 예정이지만, 지금은 아직 구현하기 전입니다. 랜덤으로 아무곳에나 뿌려주는 projectTest를 만들어서 임시로 해결해줍시다.
debug.js 앞에서 구현한 메서드들을 이용해 실제로 화면에 잘 나오는지 테스트해보는 스크립트입니다.
1
2
3
4
5
6
7
8
init ().then ((stars ) => load (stars)) .catch (err =>console .log (err)); setTimeout (() => { projectTest (); }, 5000 );
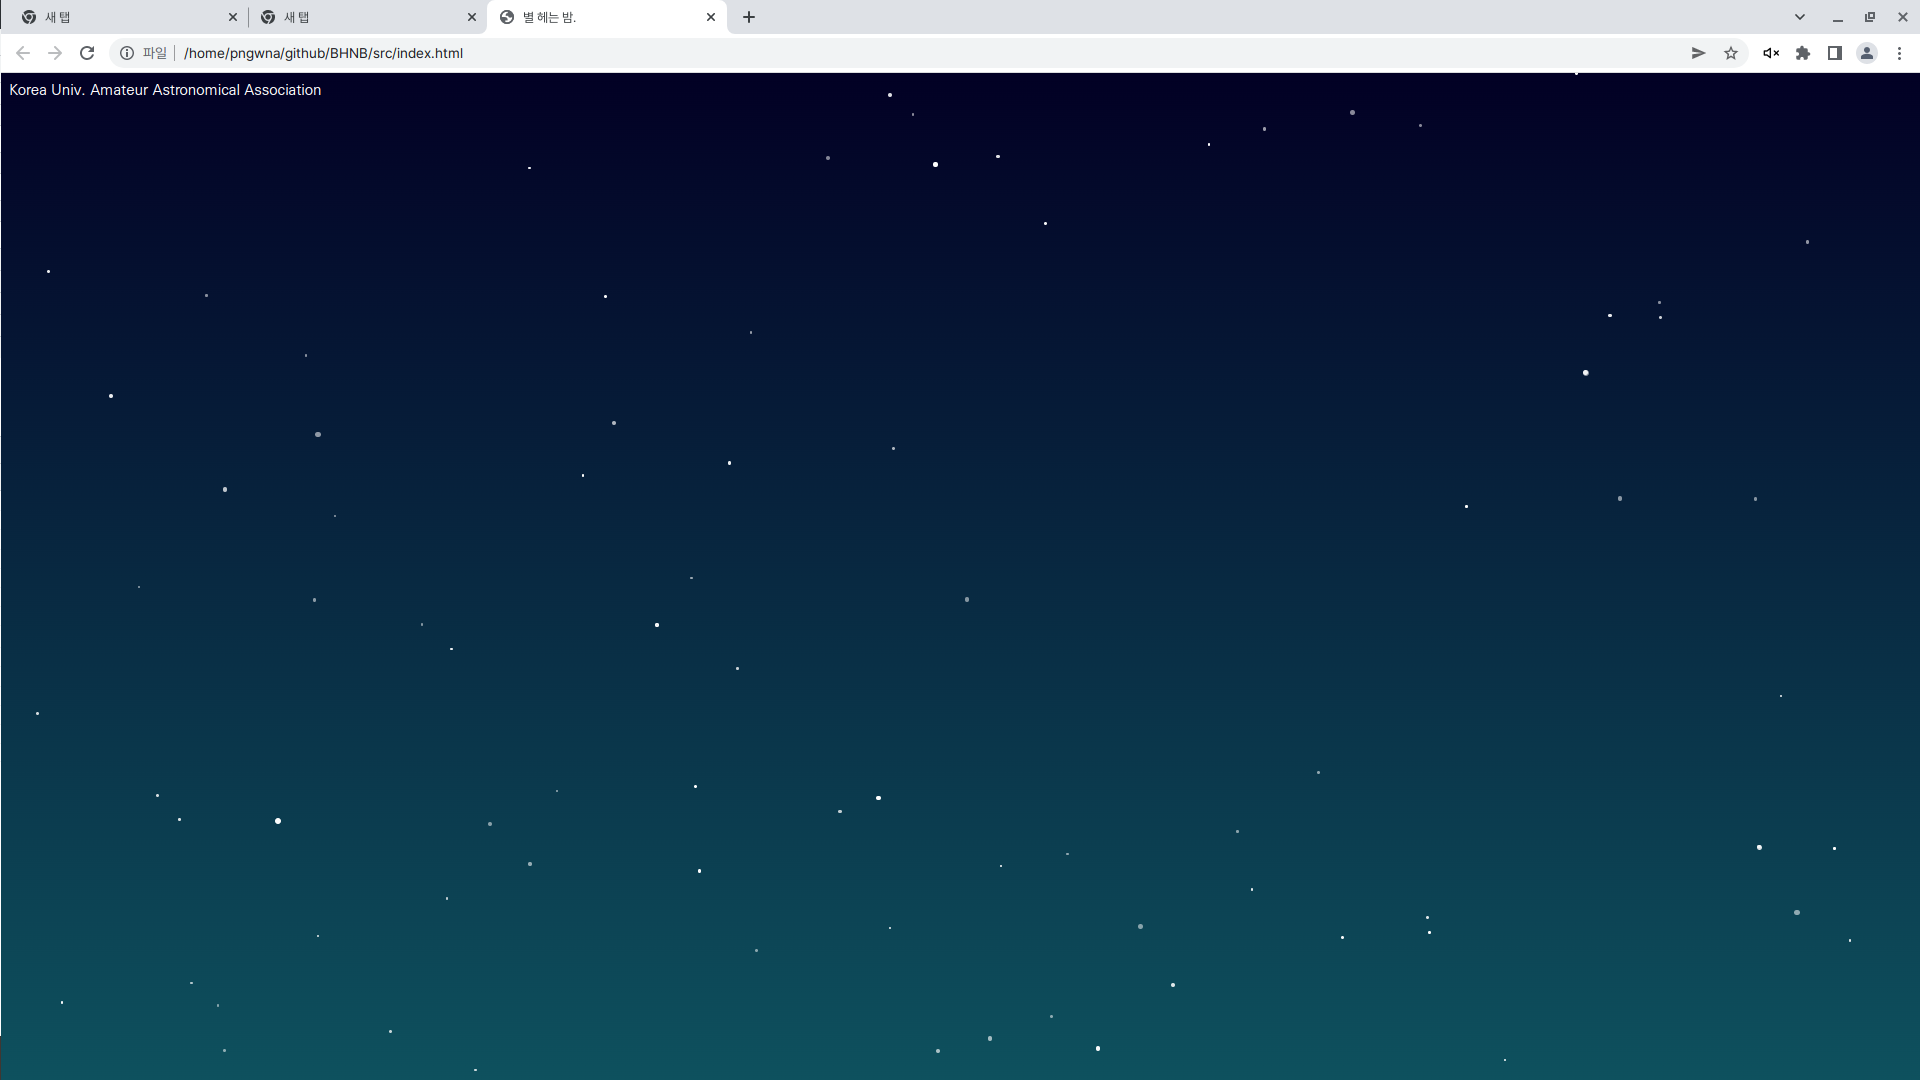
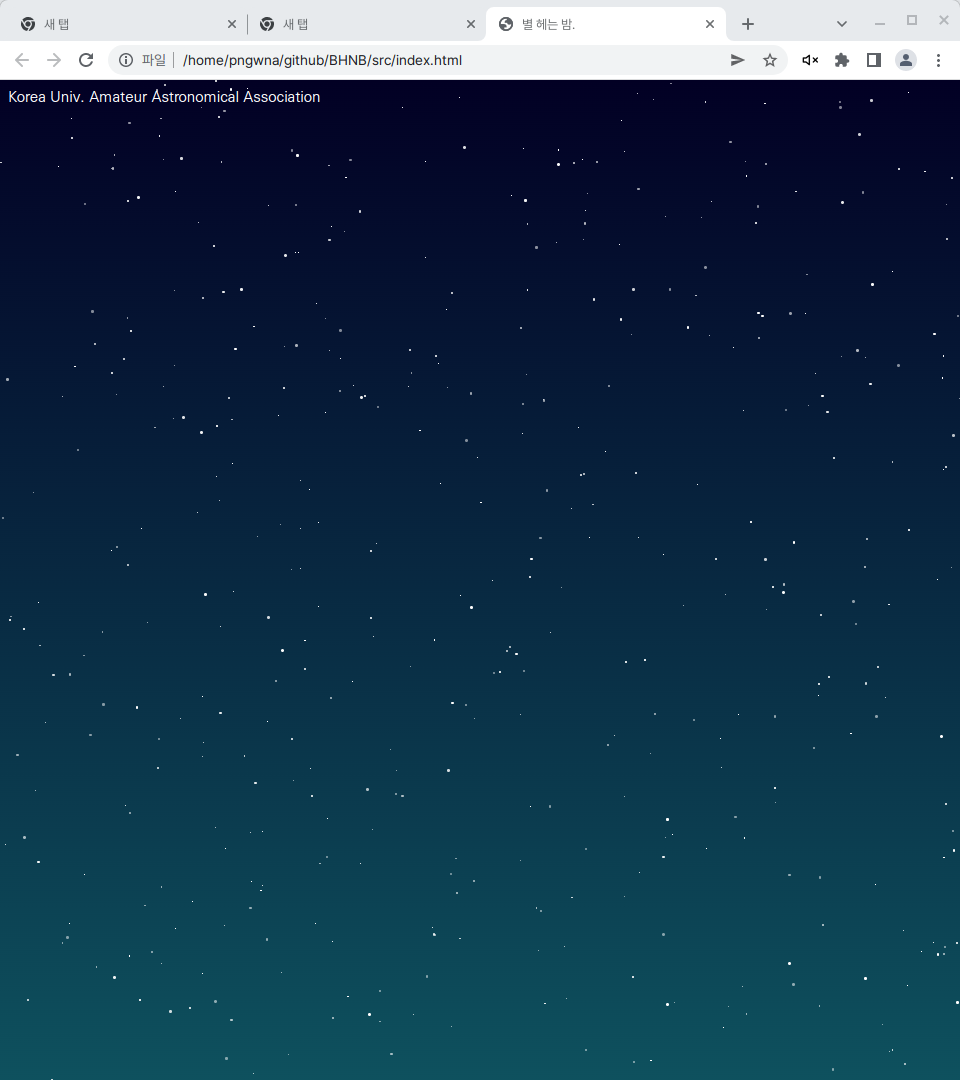
결과 제대로 구현되었다면 새로고침을 할 때마다 별이 랜덤한 위치에 뿌려질 것입니다.
해봅시다.
가로
세로
잘 작동하네요.
아직 실제 별들의 배열과는 차이가 크지만, 이대로 둬도 충분히 예쁜 것 같습니다.
다음 챕터 에서는 좌표계 변환을 구현합니다.